How Can I Merge Specific Changes from Staging to Live Site?
Step 1 of 10
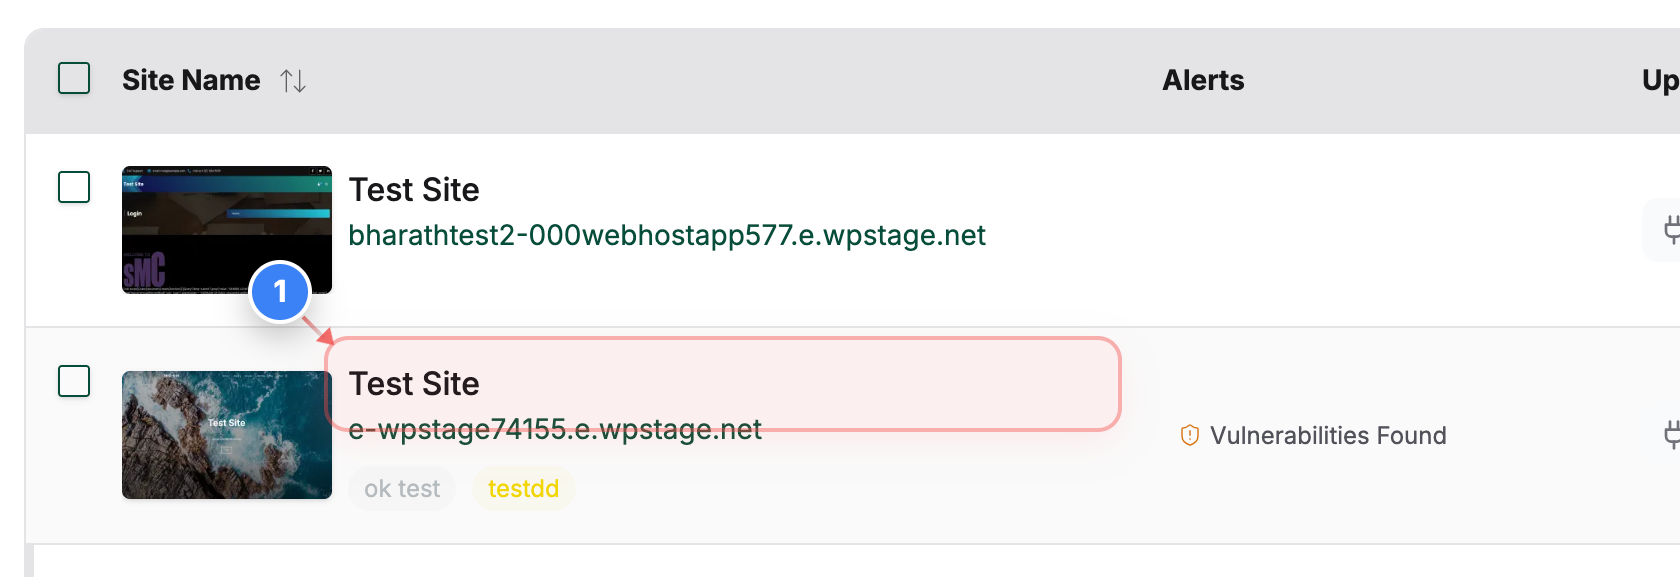
Open Your Site
Click on your site name in the center of the Sites page to open the Site Details dashboard and manage that site.
Step 2 of 10
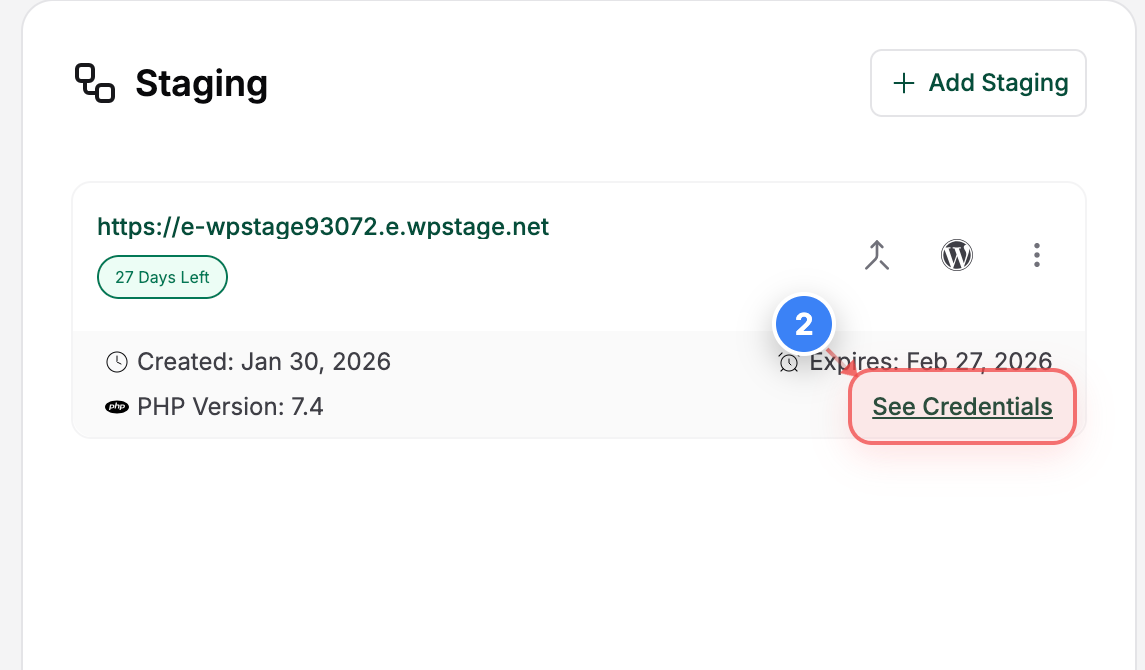
View Staging Site Credentials
Click the "See Credentials" button in the Site Details page to view login and access information for the selected site.
Step 3 of 10
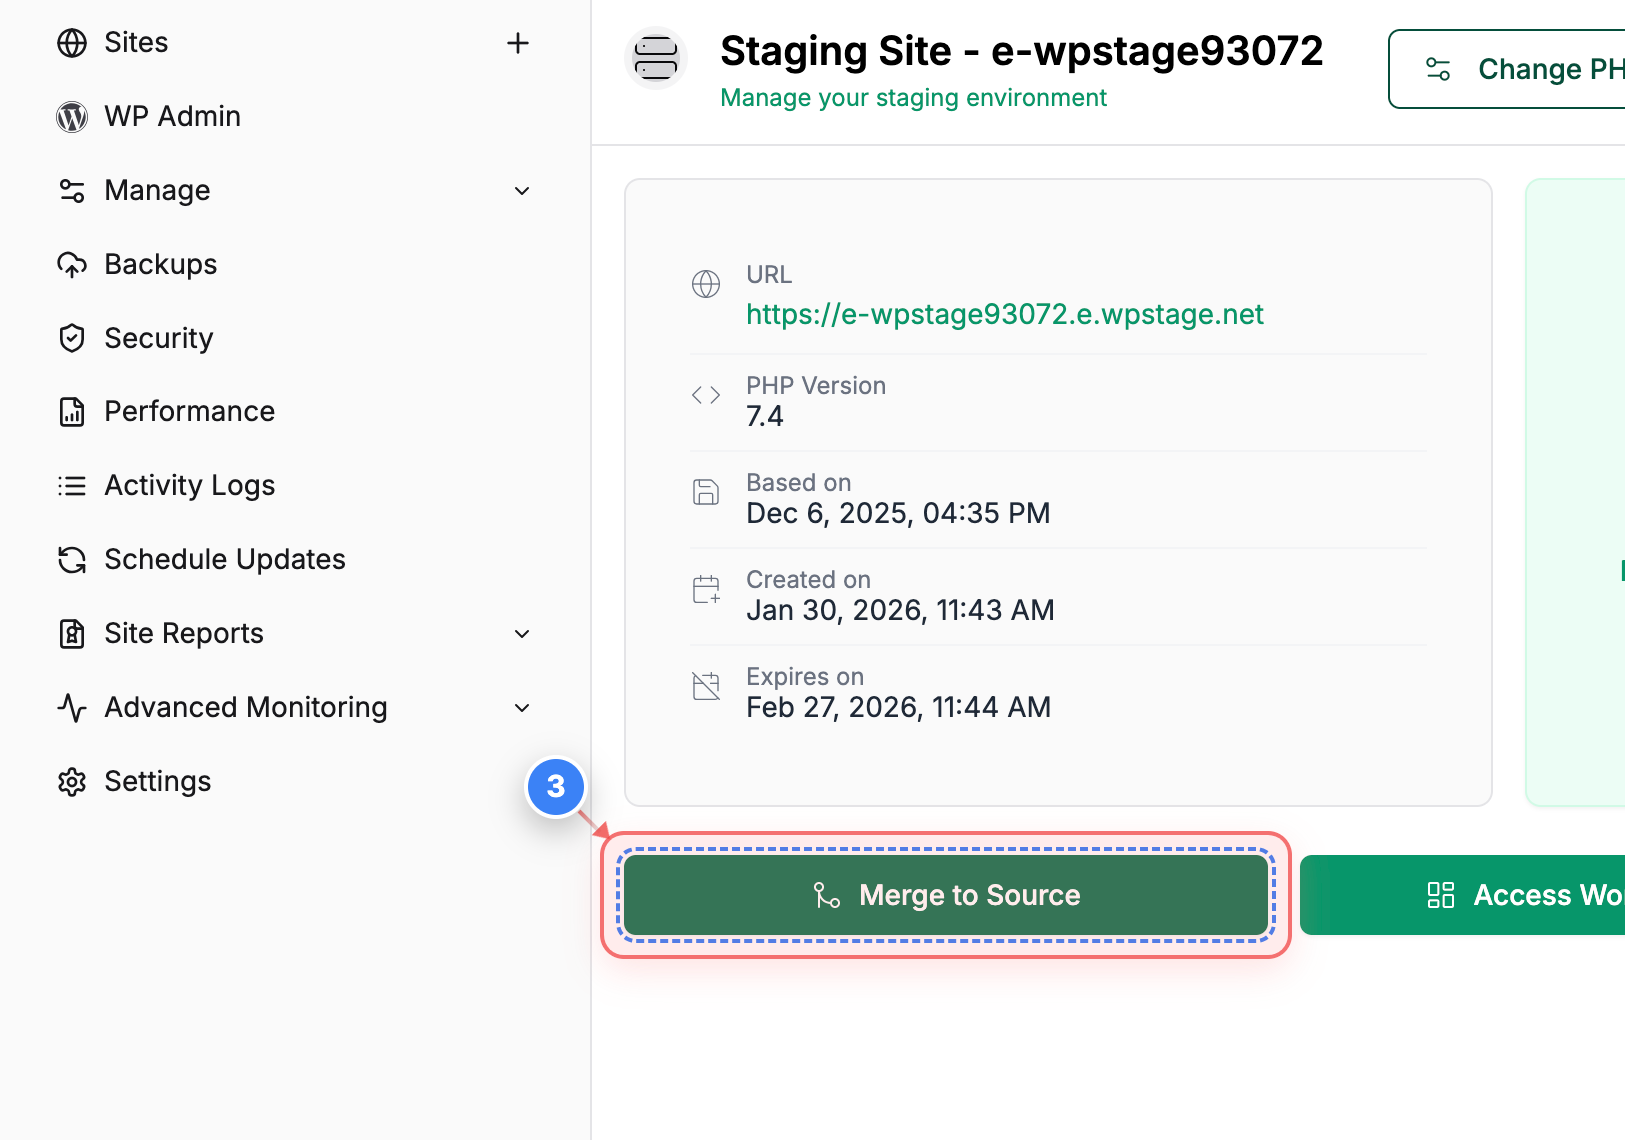
Start Merge to Live Site
Click the "Merge to Source" button on the staging site page to begin merging changes from staging to your live site.
Note: This opens the merge workflow where you can choose specific files and tables.
Step 4 of 10
Monitor Merge Preparation
See the "In Progress" task panel on the Tasks page to view the merge preparation status and track its progress.
Note: Wait until the comparison process completes before selecting files or tables.
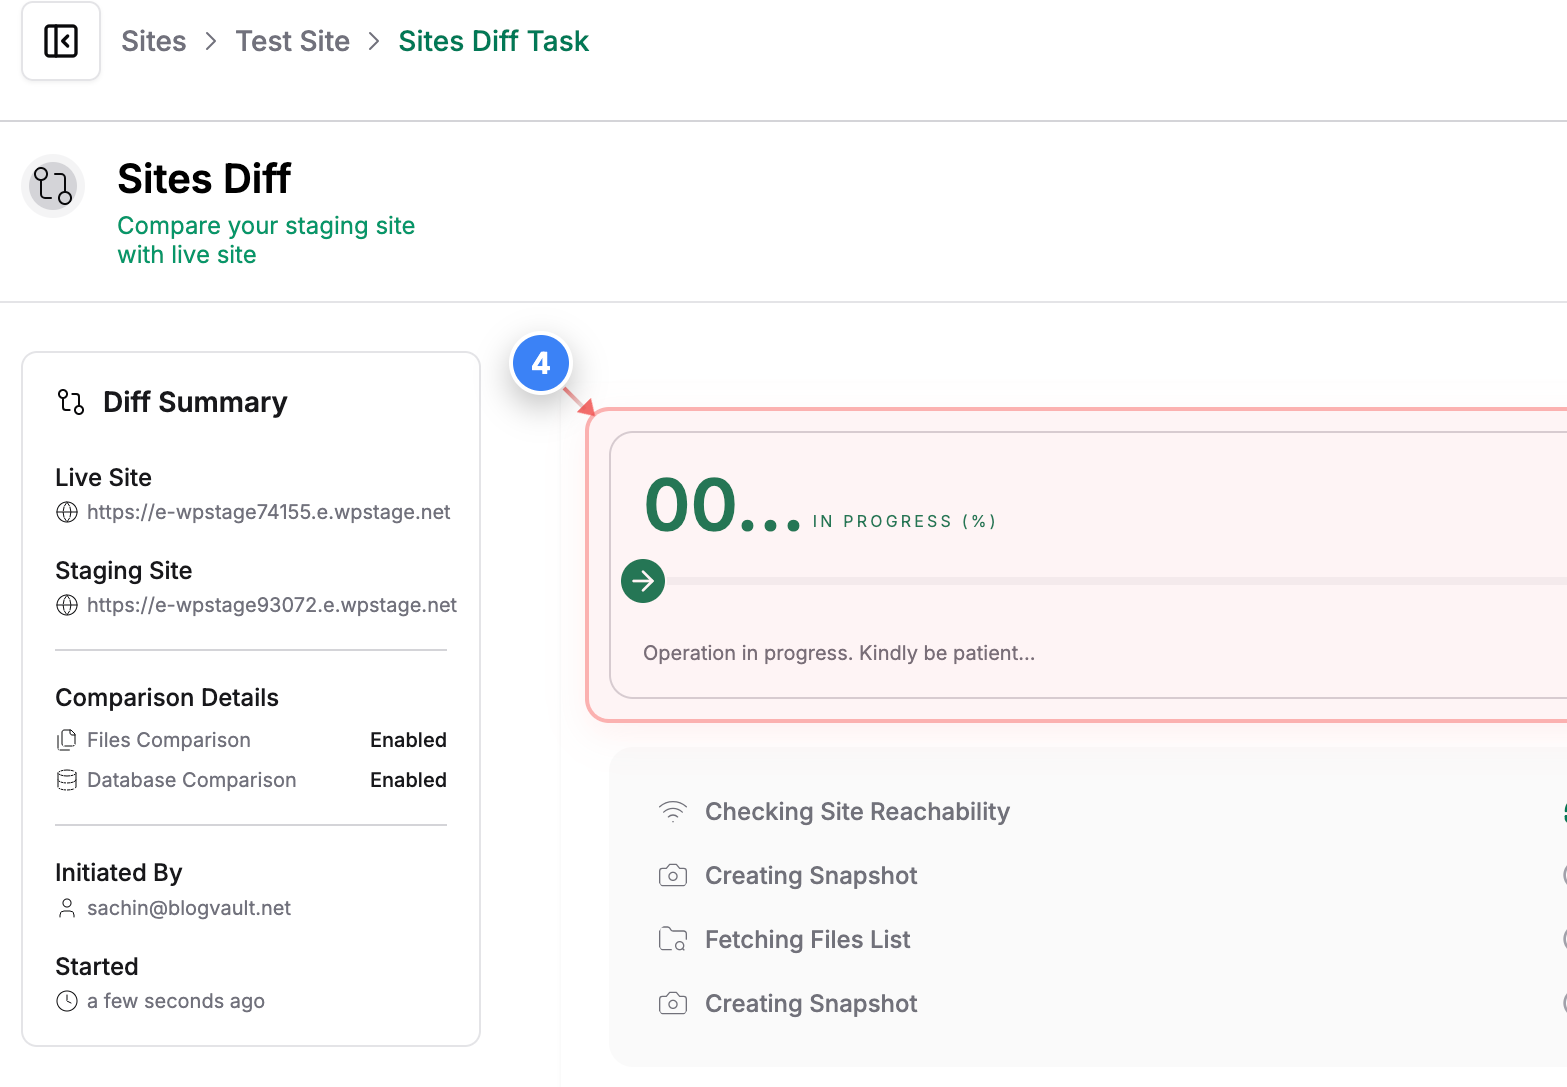
Step 5 of 10
Select Plugin Folder
Click the checkbox next to the Plugin folder in the Files selection screen to choose that folder for merging.
Note: You can expand folders to review individual files before selecting them.
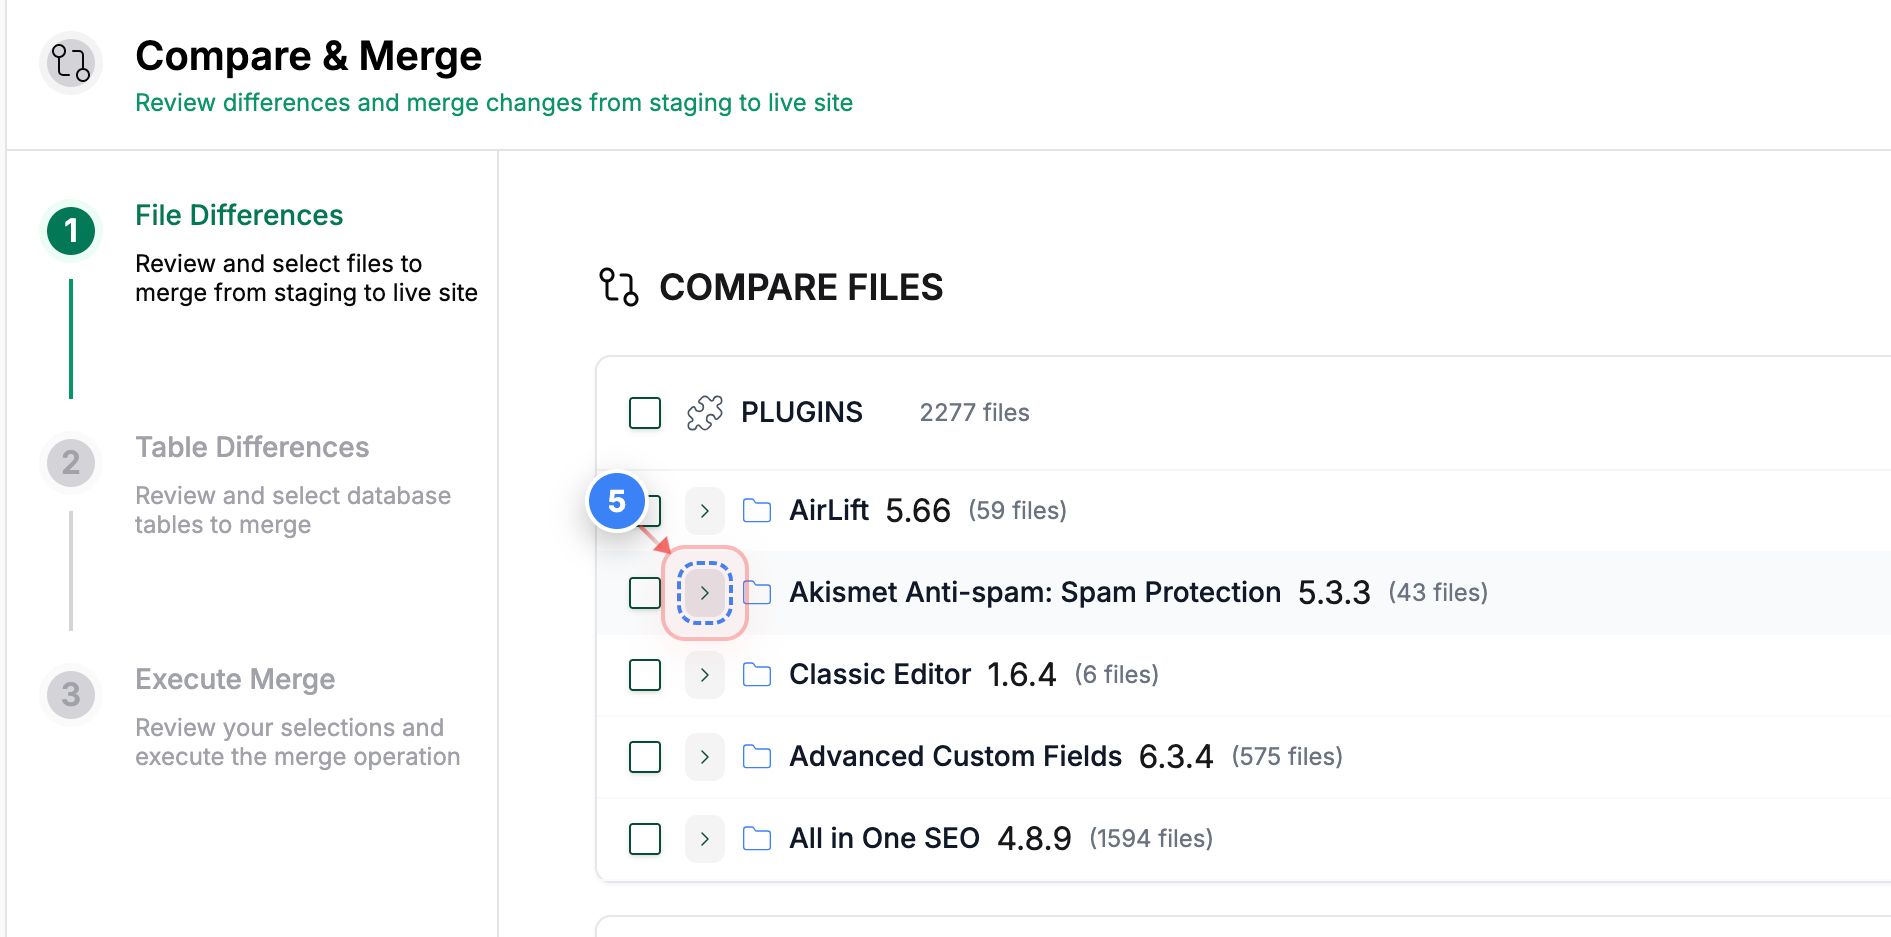
Step 6 of 10
Select Specific File
Click the checkbox in the Files list to include that specific file in the merge.
Note: In this example, one file is selected to demonstrate selective merge. You can select multiple files or use "Select All" if needed.
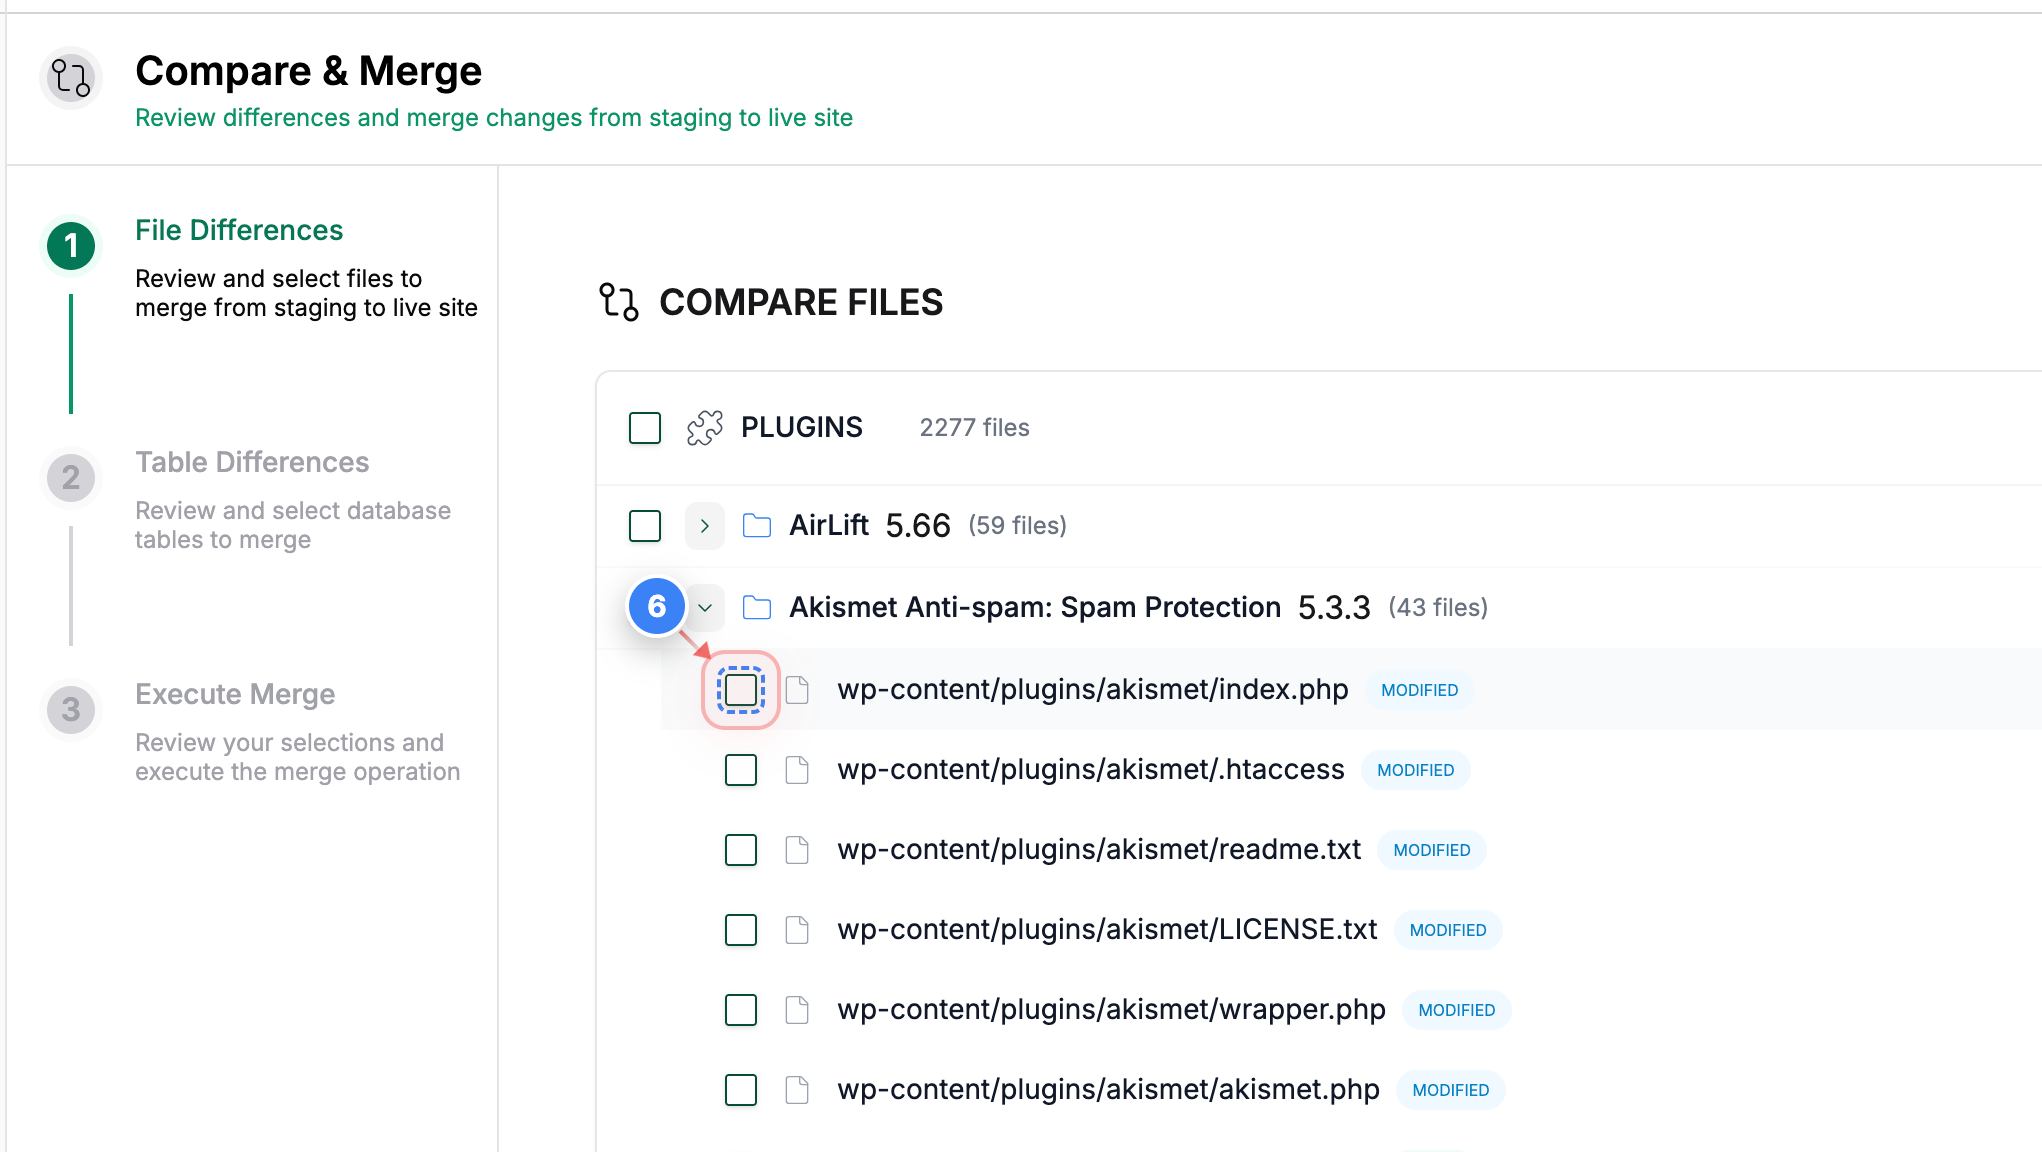
Step 7 of 10
Select Tables to Merge
Click the "Continue to Tables" button in the bottom-right area of the Files screen to proceed with selecting database tables.
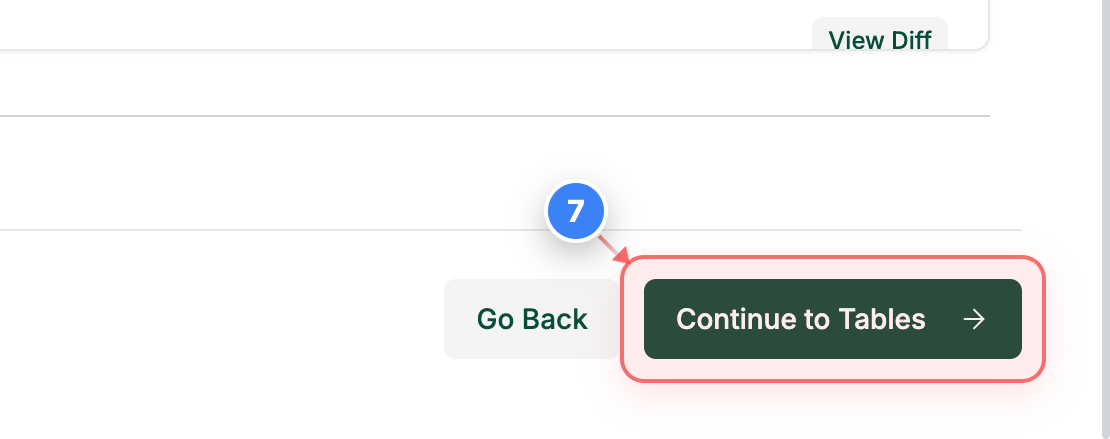
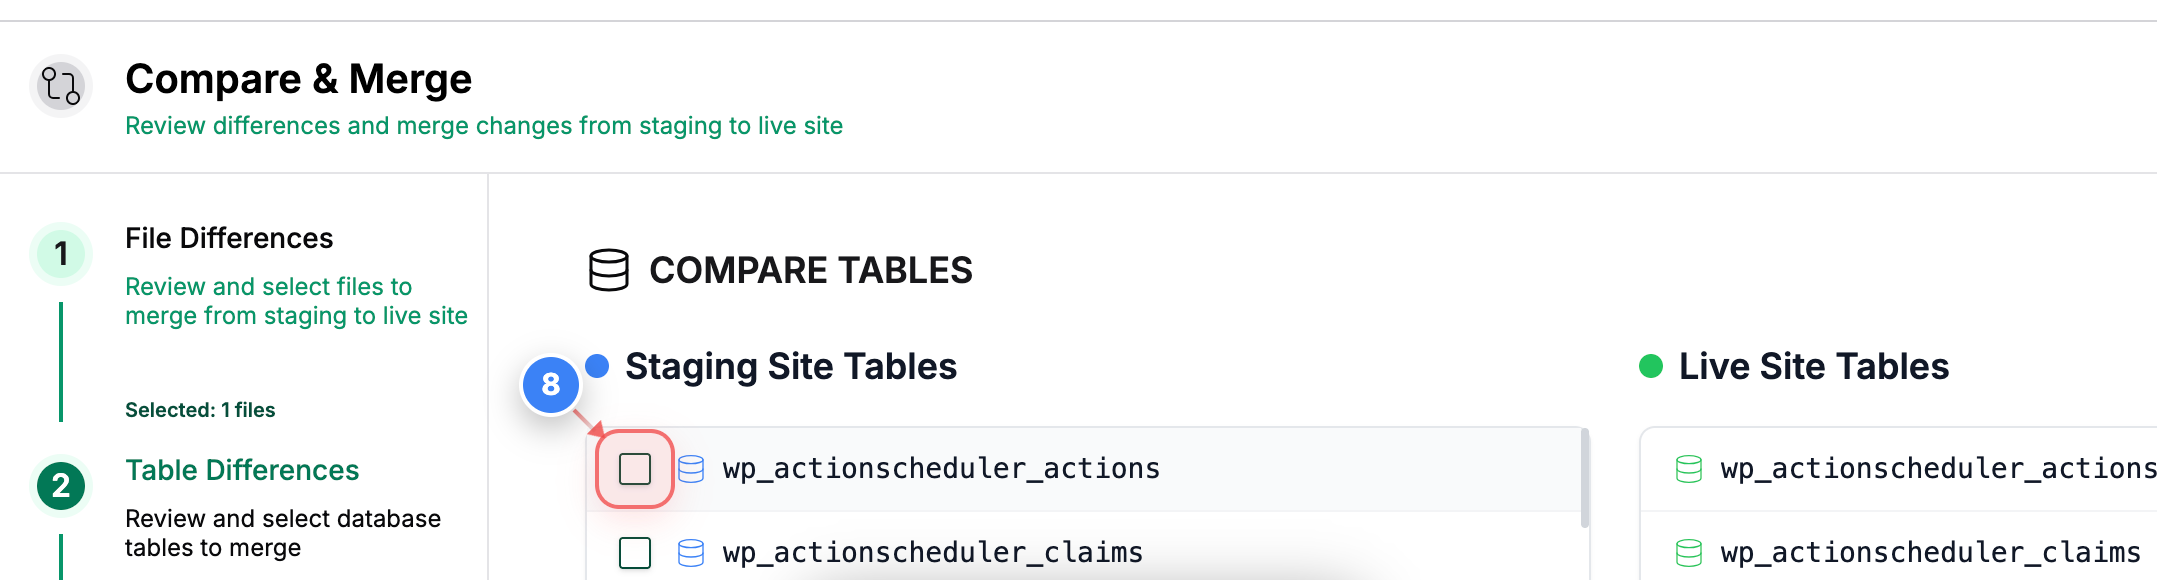
Step 8 of 10
Select Database Table
Click the checkbox next to the table in the Tables list to include that table in the merge.
Note: This example selects one table to demonstrate selective merging. You can select multiple tables or choose "Select All" if required.
Step 9 of 10
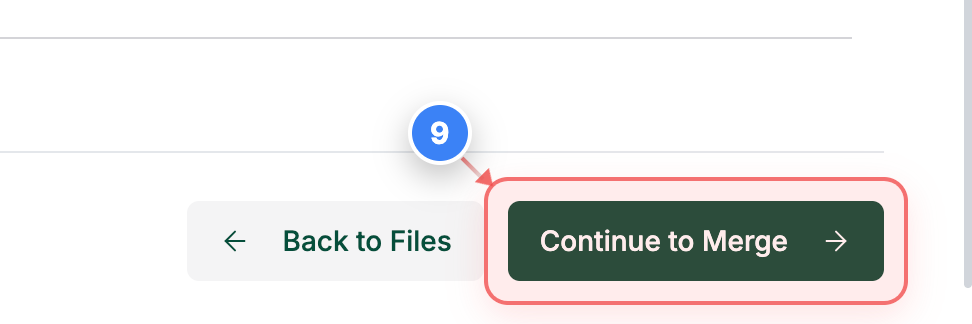
Proceed to Merge Summary
Click the "Continue to Merge" button in the bottom-right area of the Tables screen to review your selected files and tables.
Note: Review the selection count carefully before proceeding.
Step 10 of 10
Execute the Merge
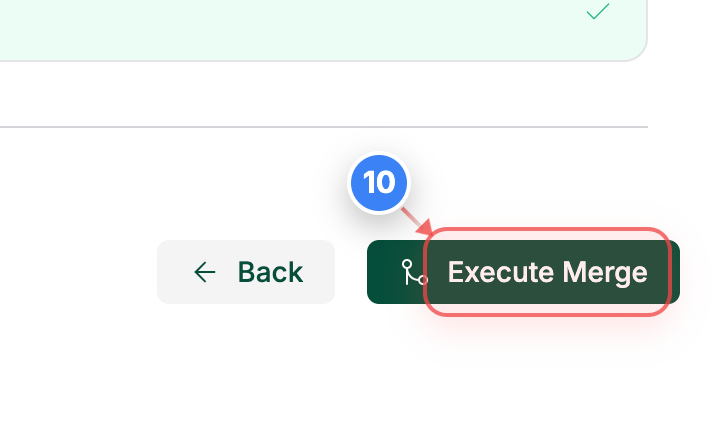
Click the "Execute Merge" button in the bottom-right area of the Merge Summary page to apply the selected files and tables to your live site.
Note: This action permanently overwrites the selected content on the live site.