How Do I Scan Non-WordPress Folders?
Step 1 of 7
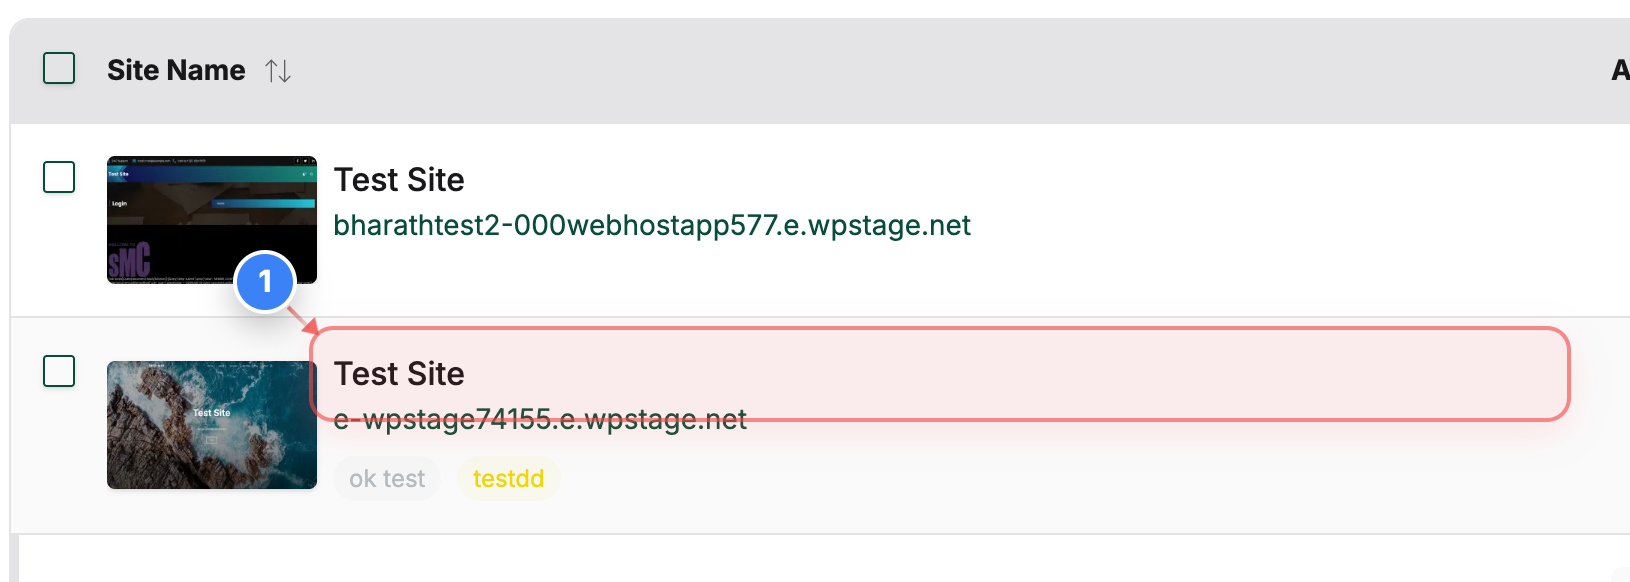
Open Your Site
Click on your site name in the Sites page to open its management dashboard and access backup and file options.
Note: Your site appears in the center of the Sites page along with its domain name.
Step 2 of 7
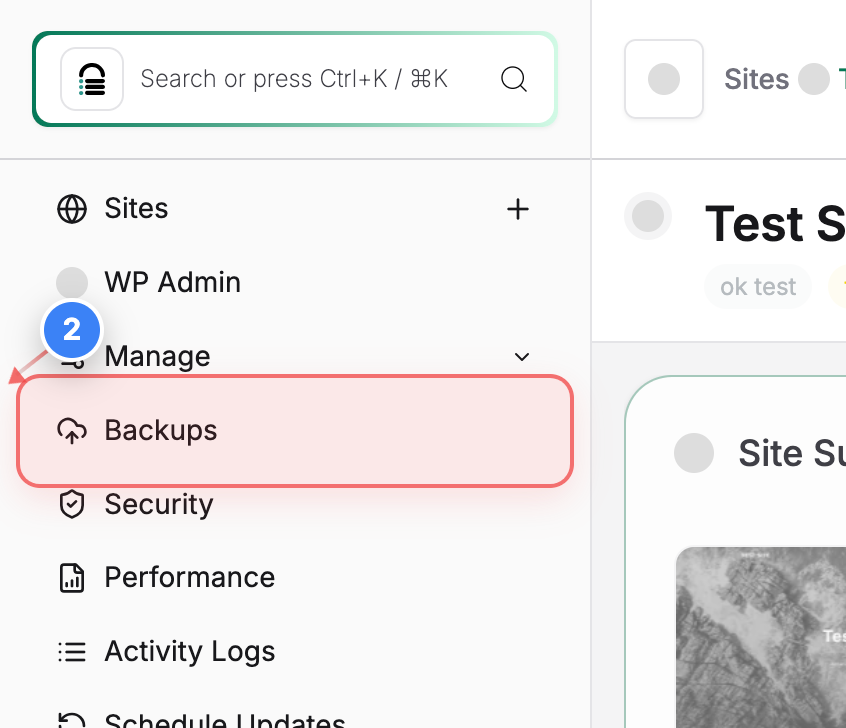
Go to Backups
Click Backups in the left sidebar to view your site's backup details and restore points.
Step 3 of 7
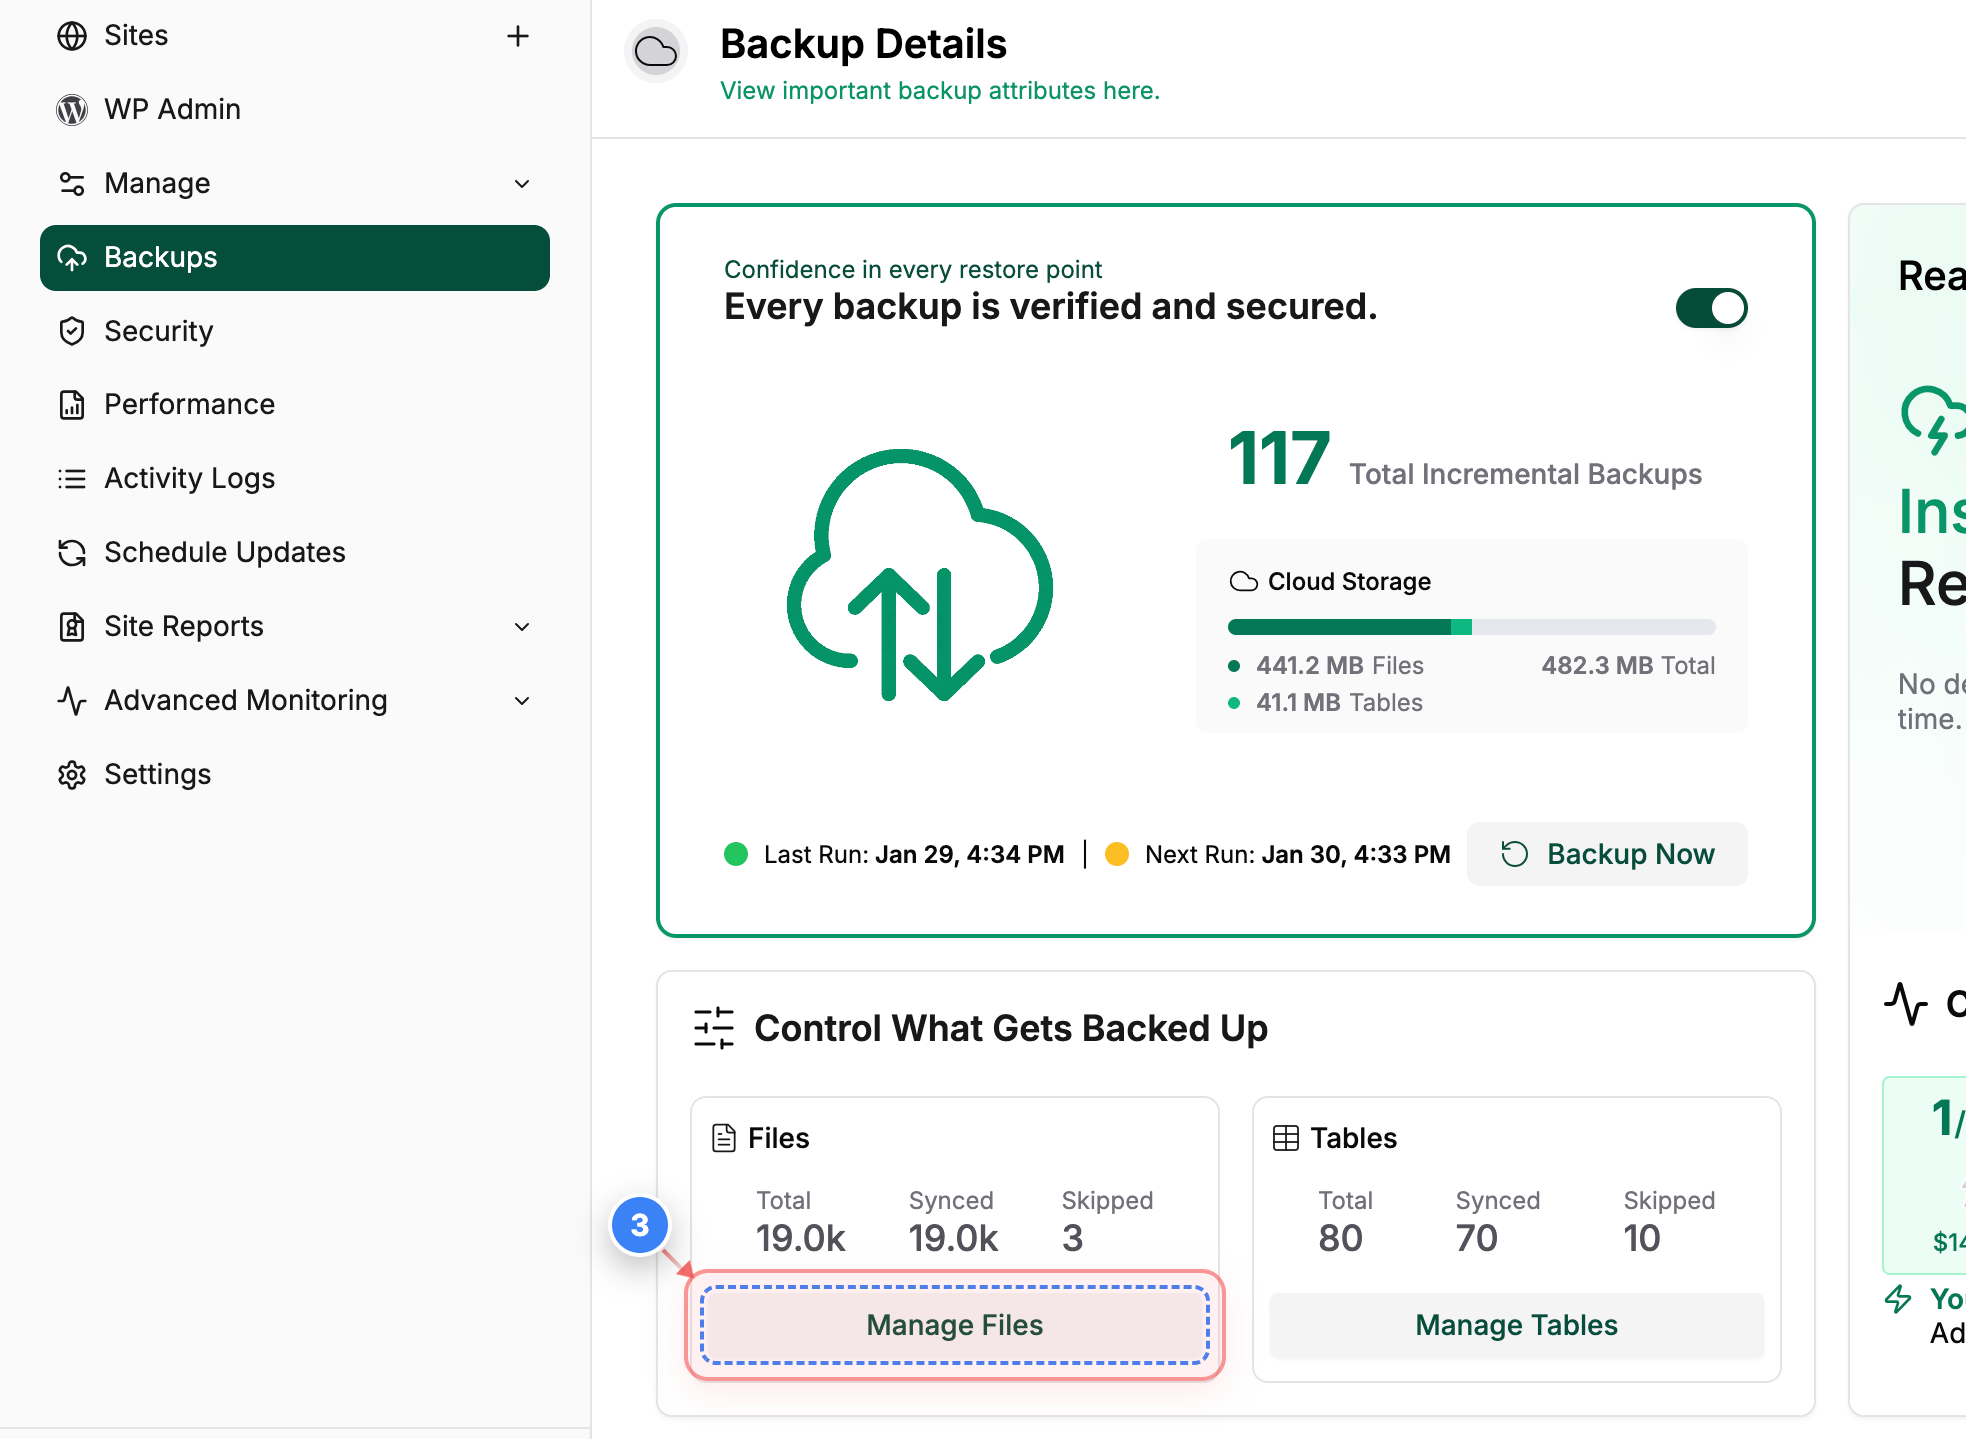
Open File Management
Click the Manage Files button in the Files section of the backup details page to review and control which files are included in sync.
Note: The Files section also shows the total, synced, and skipped file counts.
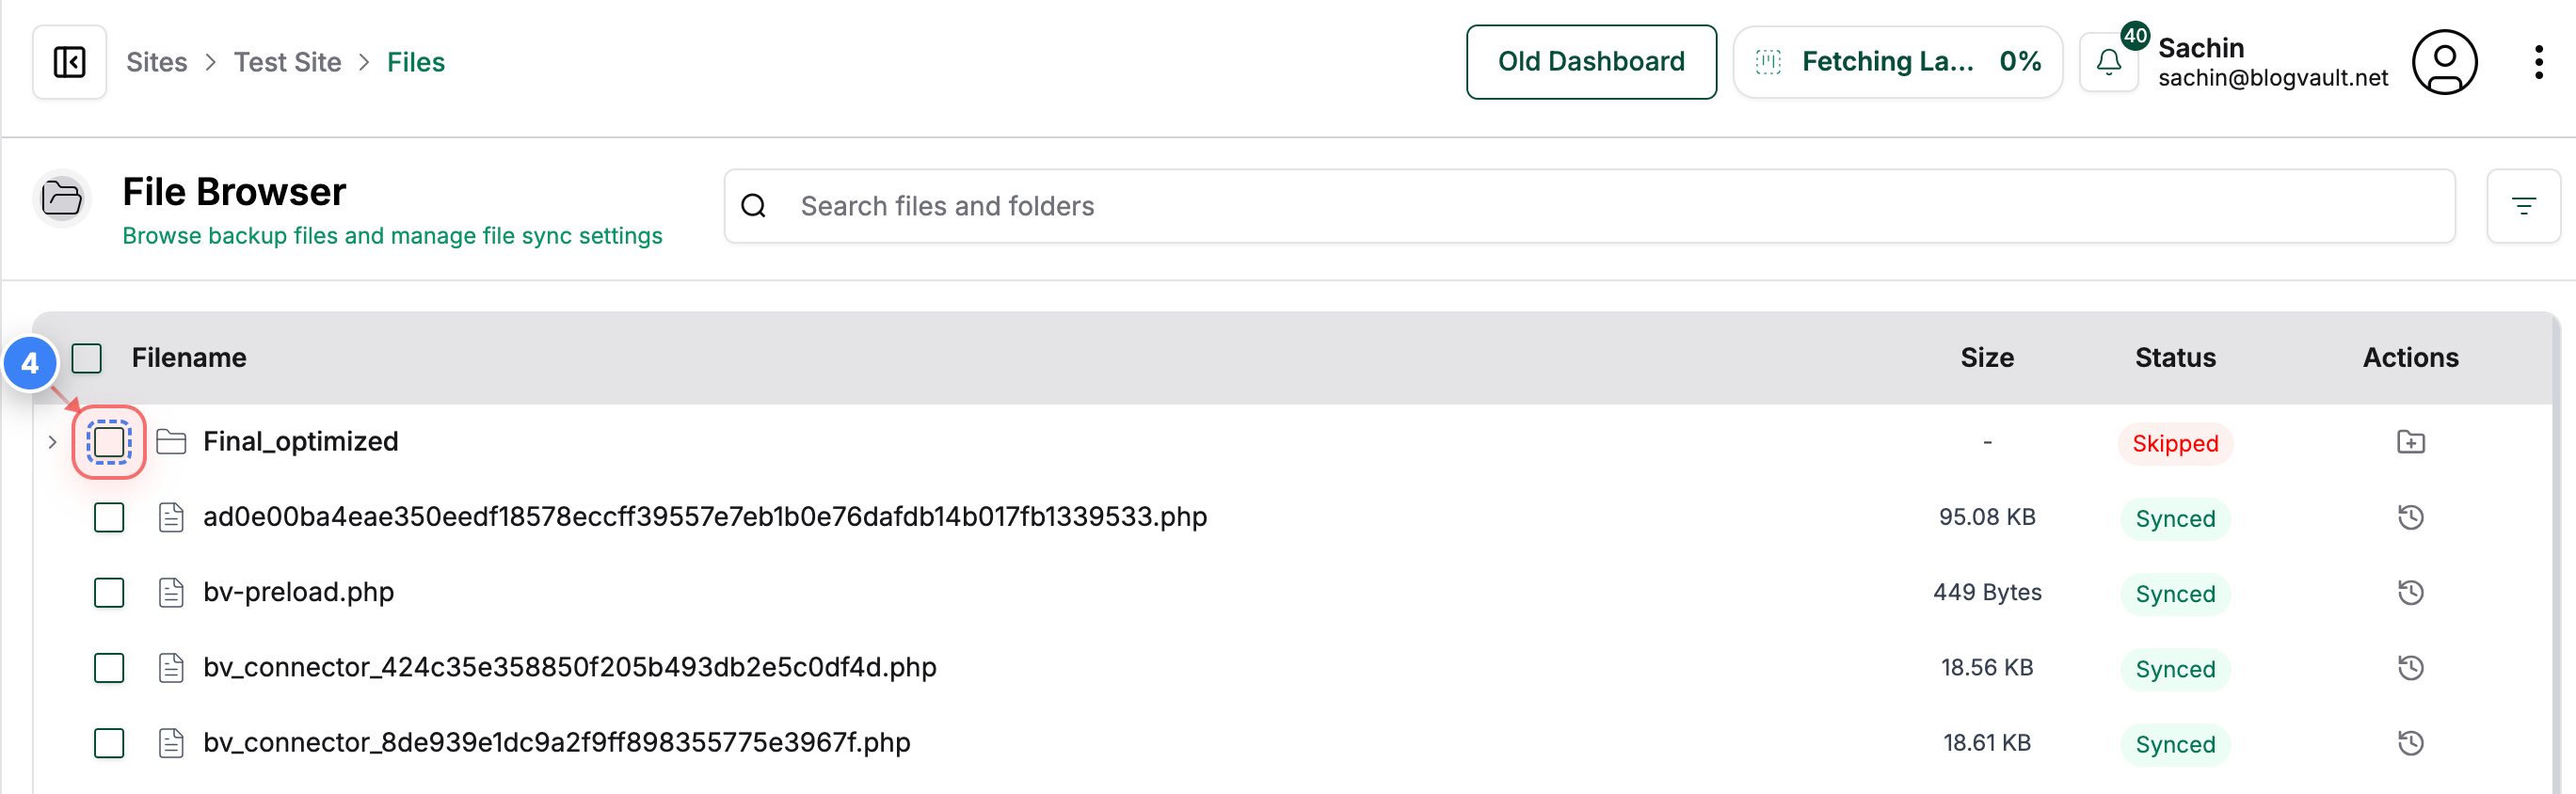
Step 4 of 7
Select the Folder
Click the checkbox next to the folder on the Files page to select it for syncing.
Note: Selecting a folder prepares it to be added to your synced files.
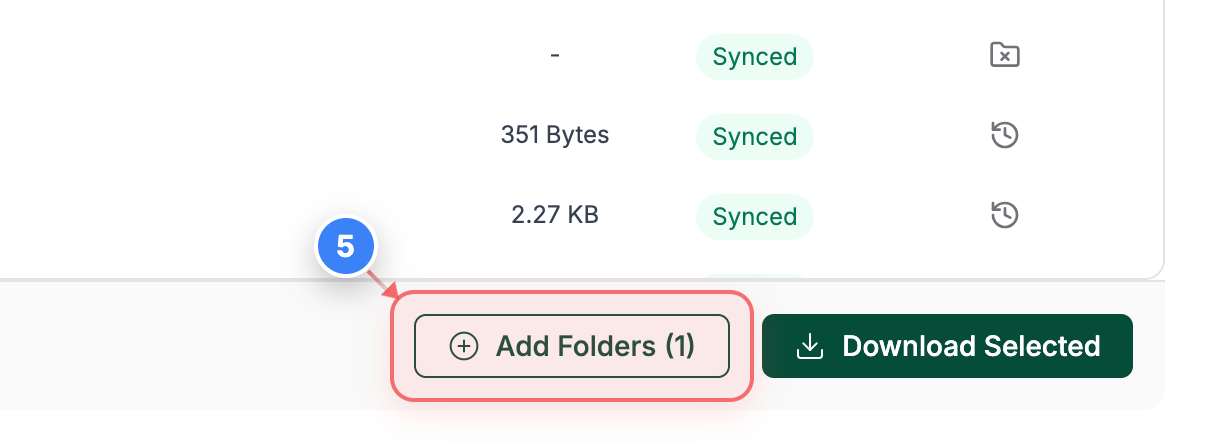
Step 5 of 7
Add Folder to Sync
Click Add Folders (1) at the bottom of the Files page to include the selected folder and its contents in sync.
Note: The bottom bar shows how many items are selected before you proceed.
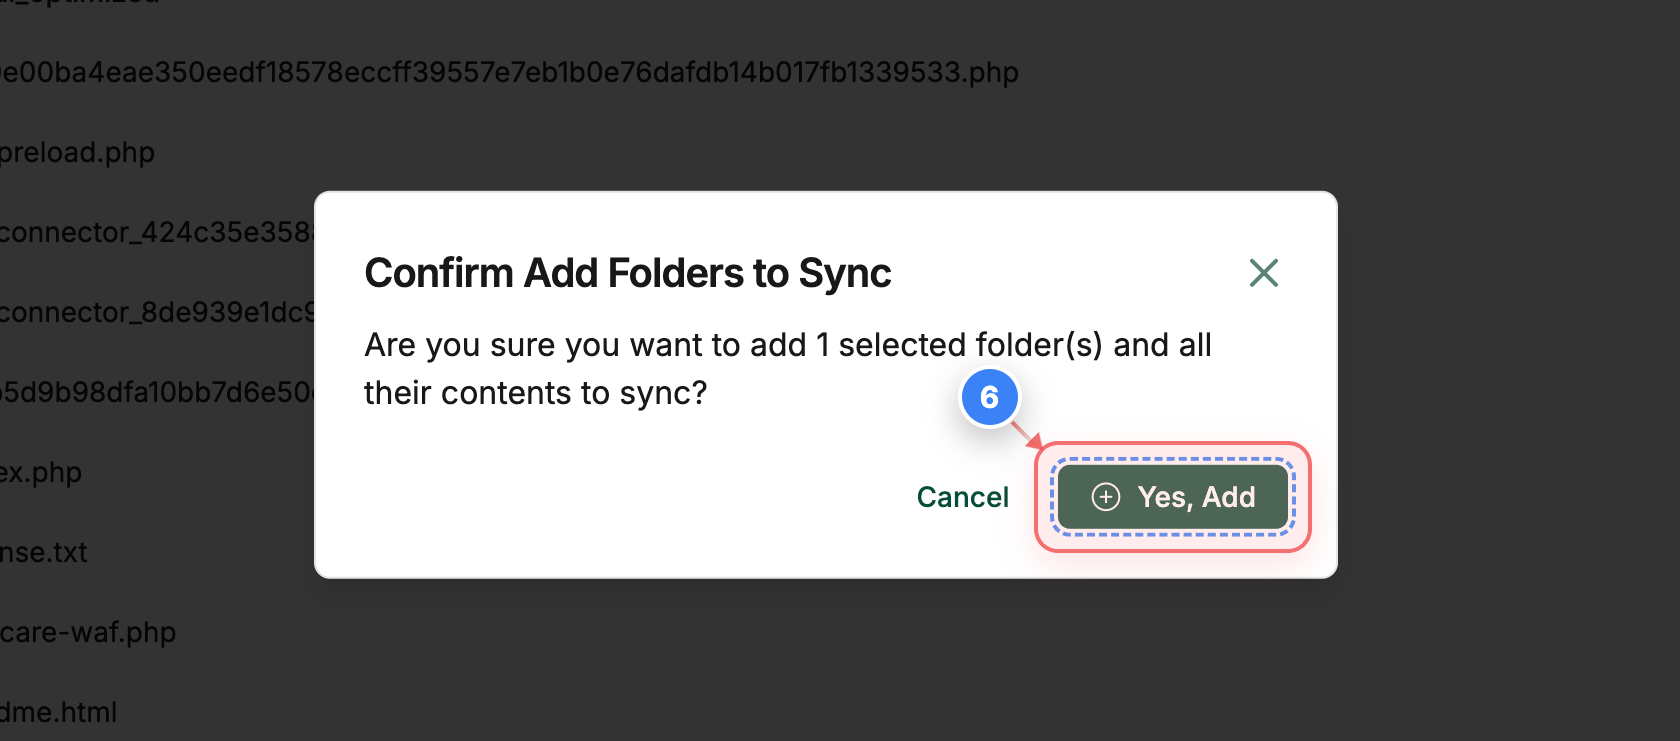
Step 6 of 7
Confirm Folder Addition
Click Yes, Add in the confirmation window to start syncing the selected folder and all its contents.
Step 7 of 7
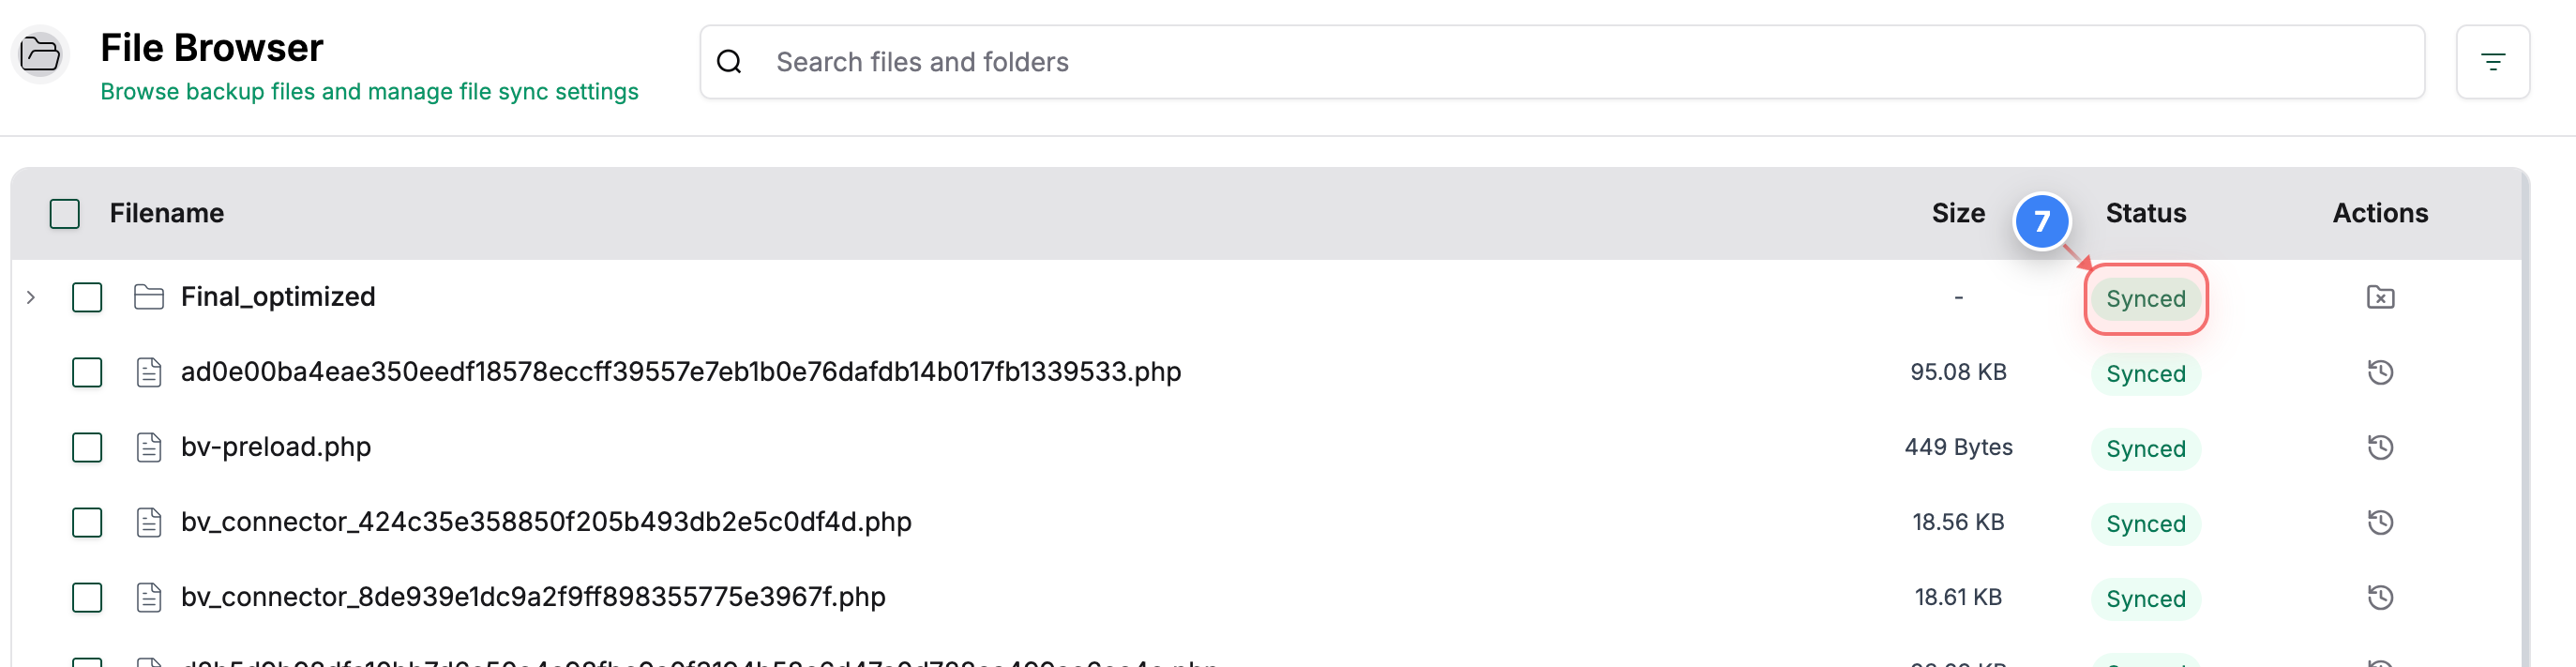
Verify Synced Status
View Synced on the Files page to confirm that the folder is now included in your synced files.
Note: The Synced label appears on the right side of the file list once syncing is enabled.